
Published on June 29, 2026 11:00AM
Where You Put Blush Matters More Than Any Blush You Own
Contains affiliate links — as an Amazon Associate we earn from qualifying purchases.
Blush
- —Rare Beauty Soft Pinch Liquid Blush
a tiny amount goes far, dries down without moving, and the pigment is real enough to use for draping or the nose sweep without packing on product. worth the hype.
Shop →(paid link) - —Rhode Pocket Blush in Piggy
cream stick that blends with a fingertip in seconds. the format that makes igari under-eye application almost impossible to mess up, since fingers warm the product into skin rather than dragging it.
Shop →(paid link) - —NARS Blush in Orgasm
fine-milled enough for draping without chalking, with a shade range wide enough to build any gradient you'd want for sunset placement. the reference point for powder blush for a reason.
Shop →(paid link) - —Dior Backstage Rosy Glow Blush in 001 Pink
a powder that adjusts subtly to skin tone and delivers warmth without opacity. ideal for the sunburnt sweep when you want color to read as part of the face rather than sitting on top of it.
Shop →(paid link) - —Rare Beauty Soft Pinch Luminous Powder Blush in Cheer
the hybrid formula that sits between a liquid blush and a highlighter. apply to the cheekbone or under-eye area when you want a luminous, skin-first finish rather than visible product.
Shop →(paid link)
There is a specific brand of embarrassment that comes from realizing you've been doing something wrong for fifteen years and the correct way was available the whole time. I felt this acutely about blush placement last autumn when I stumbled onto a video of a makeup artist applying blush so high on a face it nearly grazed the lower eyelid, and the result looked more naturally flushed than anything I'd ever managed on myself. I paused the video. I looked in the mirror. I looked back at the video. Something had to change.
The "smile and dab on the apples" instruction we were all handed came with drugstore compacts sometime around 2003 and embedded itself into a generation of muscle memory. It's not terrible advice. But placing blush on the fullest, roundest part of your face adds color where there's already the most volume, which means it adds width rather than warmth or lift. Makeup artists have known this for years. The internet caught up fairly recently, which is why your algorithm is now full of people doing things to their cheekbones that would have looked insane five years ago and somehow look incredible now.
I spent several weeks trying five different placement techniques, the same shade of blush, the same base, different mornings. Here is what actually happened.
What You Were Taught Is Quietly Working Against You
Smile, apply to the apples of the cheeks, blend upward and outward. Every makeup tutorial of the early 2000s, every compact insert, every "how to look pretty" guide in every teen magazine from 2001 to 2009 described this exact technique. I grew up doing this. You probably did too.
Testing it deliberately against everything else was clarifying. The color sits at the center and fullest point of the cheek, which draws the eye to width rather than height. On rounder or softer face shapes, it can flatten features rather than enhance them. It's also the placement most likely to look like you're wearing blush rather than like you're flushed, because it corresponds to no natural physiological event. When you actually blush, blood doesn't rush to the apples of your cheeks. It rises to the upper face, the nose, the temples.
All that said, this technique still has a use case. It's the fastest and most forgiving option when you have approximately ninety seconds before you have to leave the house. It works best on faces with strong bone structure that doesn't need lifting, or on someone using blush as a supporting player rather than the main event. For beginners, it's the entry point, and entry points exist for good reason. Just don't let it be the only technique you know.
Way Bandy Invented This for Cher in 1972
Way Bandy was a makeup artist from Birmingham, Alabama who moved to New York City in 1965, changed his name, got a facelift, and became one of the highest-paid faces in fashion by the mid-1970s, working with Cher, Elizabeth Taylor, Diana Ross, Barbra Streisand, and Farrah Fawcett. Kevyn Aucoin reportedly stole his 1977 book Designing Your Face from the public library as a kid because he wanted to understand technique that badly. Bandy's signature was using bold sweeps of color along the cheekbone and toward the temples to sculpt the face, a method the industry eventually named blush draping.
His original version was dramatic and theatrical, designed for editorial and film. What's been revived is a softer interpretation that works in actual daylight on actual people going to actual jobs, but the structural logic is identical: instead of subtracting volume with brown shadow, you add warmth and lift with color.
The placement starts at the highest point of the cheekbone, just beneath the outer corner of the eye, and sweeps upward and outward toward the temple in a C-shape. Celebrity makeup artist Christian Briceno, who broke down the technique in a NewBeauty feature, describes it as "mapping" the face before you start. "Placement should be determined by where you want the most strength; however, you don't want to create any harsh lines." From the temple, you can carry a very light dusting across the lid and the bridge of the nose for a monochromatic effect, but neither of those is required for draping to work.
Formula matters enormously here. Liquid blush creates a bolder, more editorial drape. Cream-to-powder formulas give a softer, diffused finish. What Briceno specifically warns against is anything extra-shimmery or ultra-dewy when covering a large area, because those formulas tend to slide and create an unintended spotlight on the upper cheek rather than a lifted flush. Fine-milled powder works if it's buildable, but apply with a fluffy brush and a light hand.
What I noticed: this placement changed my face more than any other technique I tried. The effect isn't more makeup, it's a different distribution of color that makes the upper third of the face look lifted and the whole face look more awake. The same blush that looked flat on my apples looked genuinely sculpted draped toward my temple.
One continuous sweep, cheek to nose, no interruption
This one has a reputation problem because the description sounds like a mistake. Sweep blush from your cheeks across the bridge of your nose in a single continuous band? Sure. That sounds like something that goes wrong rather than something you do on purpose.
And yet. I keep coming back to this placement more than any other. On bare-skin, minimal-makeup days, a single warm sweep of blush that runs uninterrupted from cheekbone to nose bridge makes the whole face look like it was touched by the same light source. Cheek blush applied in isolation looks applied. This reads like weather.
The technique showed up everywhere in 2025 under the name "sunburnt blush," described by Harper's Bazaar Arabia as "a continuous wash of pigment from one cheek, across the bridge of the nose, to the other." The logic mirrors what actually happens to the face in sun or cold: the nose and central face flush along with the cheeks rather than in separate, carefully demarcated zones.
Application requires restraint that borders on counterintuitive. Apply your blush to the cheeks normally, then use what's left on the brush after a few swipes to feather across the nose bridge. The nose application should be so light you can barely see it, just enough to break the line between cheek and face. A dense brush with too much product will cake on the nose and emphasize texture, which is the opposite of the point. Cream or liquid formulas blend imperceptibly into skin there; powder is workable only if the product is very finely milled and your skin isn't dry.
Makeup artist Omayma Ramzy, quoted in a Who What Wear spring 2026 blush roundup, says the key to any sun-kissed technique is blending upward and outward rather than inward, since "inward" placement is what reads as traditional and dated. The nose sweep gets away with breaking that rule because it's a continuation, not a new zone.
7.3 Million Views Later, This One Earned Them
In April 2024, a beauty creator named Alissa Janay posted a video applying two dots of pink blush and two dots of orange blush to her cheeks, then blending them together with a gold liquid highlighter on top. The video collected 7.3 million views and launched a trend that's still circulating two years later. She told Essence the idea came simply from seeing an orange blush and wondering what happened if you layered it with pink. "I didn't think it would," she said, referring to how it landed. It landed extremely well.
Sunset blush is a gradient technique: a deeper, warmer shade at the temples and outer cheekbone, transitioning into a brighter, more pink or peachy tone toward the center of the face, with highlighter layered across the top of the cheekbone to suggest the shimmer right at the horizon. Makeup artist Joseph Carillo described it to Allure as "a beautiful way to experiment with different bright shades and gold to create a unique gradient effect that we mostly only see on eyes." The three-dimensionality is the point. A single shade sits flat. Two coordinated shades blended where they meet create depth that reads like your face is catching light differently in different places.
For execution: start with the darker shade at the temples and outer cheekbone, apply the brighter shade closer to the center of the face, then blend where they meet using gentle patting rather than sweeping motions. Patting maintains the gradient. Sweeping collapses it into one undifferentiated shade, which produces exactly the muddy result people worry about. Alissa Janay specifically recommended setting spray at the end rather than powder, noting that powder dulls the effect, which is entirely true for a cream-based gradient.
Shade coordination matters more than it might seem. The two shades need to share a temperature, either both warm or both cool. A peachy-warm orange next to a berry-cool pink will look disconnected no matter how well you blend. Staying within the warm register, something like burnt sienna at the temples into a warm coral-pink toward center, is the most universally flattering combination and the one that reads most like an actual sunset.
This technique earns its reputation as the most editorial of the five because it genuinely requires a few minutes and some attention. On the right day it looks incredible and photographs in a way that nothing else does. On a Tuesday morning when you're running late, it is probably not the call.
Blush under your eyes, from 1990s Japan, and why it makes more sense than it sounds
Shinobu Igari is a Japanese makeup artist who developed a blush technique in the late 1990s that the industry eventually named after her. The technique is sometimes called "hangover makeup," which is not an aspirational description but is a functionally accurate one: the goal is to recreate the specific quality of redness that appears on the face when blood rises to the surface from cold, exertion, or embarrassment. That flush sits high and close to the center of the face, underneath the eyes, across the nose, nowhere near the cheekbones where we've been placing product for decades.
Igari's approach fit cleanly within a Japanese beauty philosophy that has historically preferred skin that looks genuinely alive over skin that looks decorated. The technique went international through K-beauty and then through TikTok, where creators introduced it to audiences already invested in soft-girl aesthetics and no-makeup makeup. Makeup artist Mario Dedivanovic has applied a version of it by mixing concealer with blush to create luminous brightening under the eyes, which confirms it functions as a professional tool rather than just a trend.
What makes it work, physiologically, is that pink tones placed directly under the eye neutralize the greenish and bluish undertones that cause the eye area to read dark and tired. Applying warmth there doesn't draw attention to darkness; it counteracts it. The result is that the eye looks more awake without any visible makeup product near it.
Application requires a small, soft brush and a cream or liquid formula, not powder. Powder blush under the eyes settles into fine lines and can make the eye area look textured in ways that the under-eye area, which tends to show texture more readily than anywhere else on the face, really does not need. Start with a muted base shade across the mid-face from cheek to lower lash line, blend it gently, then add a slightly more concentrated amount directly under the eye blending softly outward. A feather of the same product across the nose tip completes the look. The entire application should look like it belongs to your skin, not like something you did.
The rest of the face has to cooperate. Heavy contour, dramatic cut creases, and precisely drawn brows fight the softness that this placement creates. The look works because it's part of a face that looks unhurried. Thick foundation undermines the effect immediately; a skin tint or light-coverage base is a better companion. When everything is calibrated correctly, the result is remarkable: genuinely youthful without looking like you tried to look younger, which is one of the harder things to pull off.
Lessons Learned
The biggest practical lesson was about tools. Fingers beat brushes for cream formulas at the nose and under the eye because body heat softens the product and presses it into skin rather than depositing it on the surface. A large fluffy brush is the right tool for draping because it diffuses color over a wide area quickly, which is exactly what you need when blending toward a temple. A small, controlled brush is what separates a careful under-eye application from a mistake.
The second lesson was about the relationship between formula and technique. Not every placement works with every texture. Extra-shimmery or very dewy liquid blush slides across a large area and creates a spotlight rather than a flush, which ruins draping. Powder cakes on the nose if the skin is dry or if there's too much product on the brush. Getting a technique right is often just a matter of using the right formula for that specific zone rather than anything you're doing wrong with the application.
The third thing, and the one I think about most: the classical apple placement isn't bad technique in a vacuum. It's bad technique applied universally. On the right face shape, in the right context, placing blush on the apples adds exactly the youthful roundness and warmth it's supposed to. The problem is that it became the only thing most of us knew how to do, and a single technique can't serve every face or every moment. What the last few years of blush experimentation have given us is a wider vocabulary. Which placement you choose depends on what you're trying to do, and knowing what each one actually accomplishes is how you stop guessing.
share this post
Shop the Post
Blush
- —Rare Beauty Soft Pinch Liquid Blush
a tiny amount goes far, dries down without moving, and the pigment is real enough to use for draping or the nose sweep without packing on product. worth the hype.
Shop →(paid link) - —Rhode Pocket Blush in Piggy
cream stick that blends with a fingertip in seconds. the format that makes igari under-eye application almost impossible to mess up, since fingers warm the product into skin rather than dragging it.
Shop →(paid link) - —NARS Blush in Orgasm
fine-milled enough for draping without chalking, with a shade range wide enough to build any gradient you'd want for sunset placement. the reference point for powder blush for a reason.
Shop →(paid link) - —Dior Backstage Rosy Glow Blush in 001 Pink
a powder that adjusts subtly to skin tone and delivers warmth without opacity. ideal for the sunburnt sweep when you want color to read as part of the face rather than sitting on top of it.
Shop →(paid link) - —Rare Beauty Soft Pinch Luminous Powder Blush in Cheer
the hybrid formula that sits between a liquid blush and a highlighter. apply to the cheekbone or under-eye area when you want a luminous, skin-first finish rather than visible product.
Shop →(paid link)
stop guessing your shades.
take the quiz, get your color season, and shop a product grid picked just for you. exact foundation shade included.
trending now...
self tanning
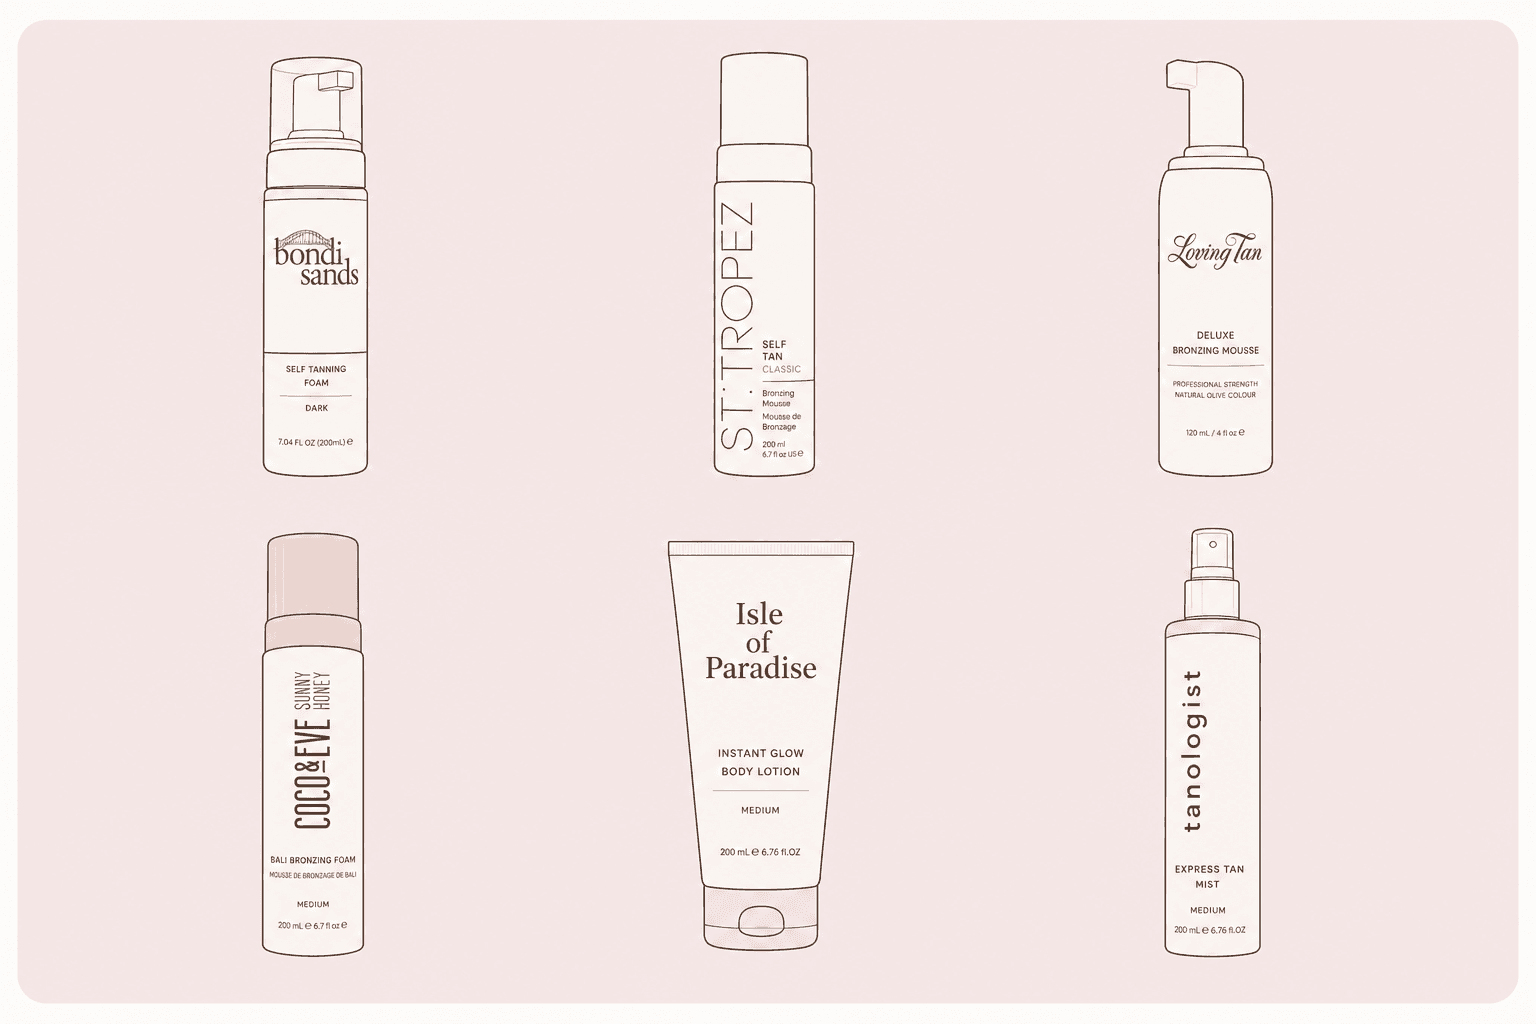
Everything You Need to Know Before You Start Self-Tanning
orange knees and streaky ankles are not about the product. they're about what happened in the 48 hours before you opened the bottle.
ingredients
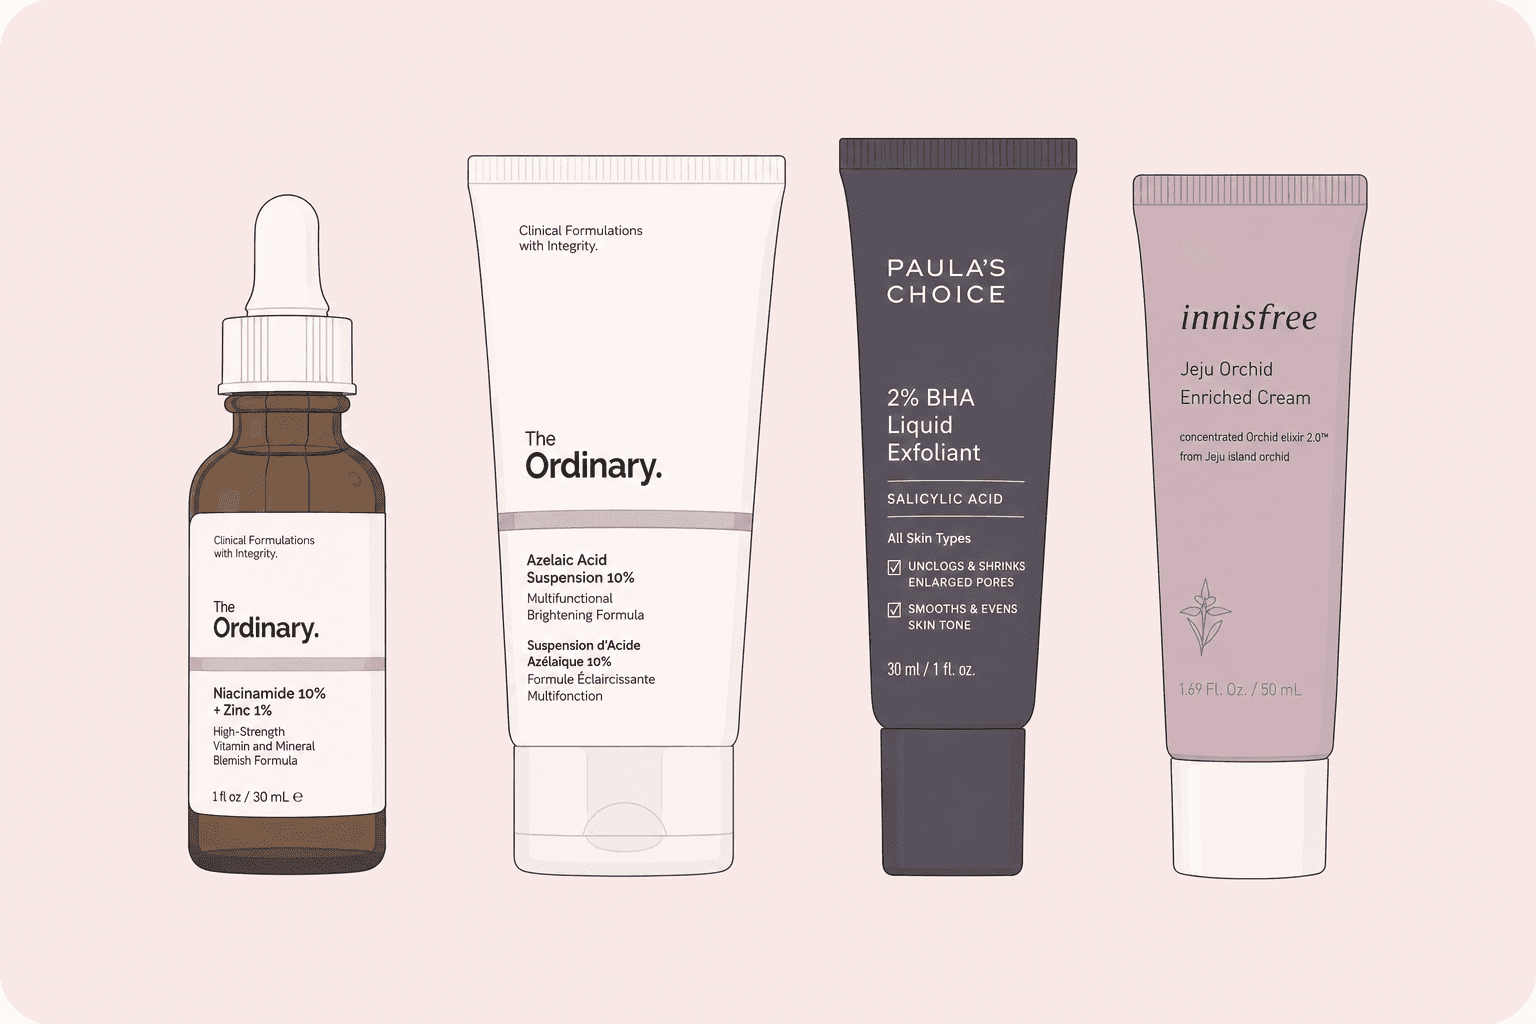
The Skincare Ingredients You Should Never Layer Together (And the Ones You Can)
the more actives people stack, the more reactive their skin gets. here's what's worth separating and what's just a myth that refuses to die.
aesthetics
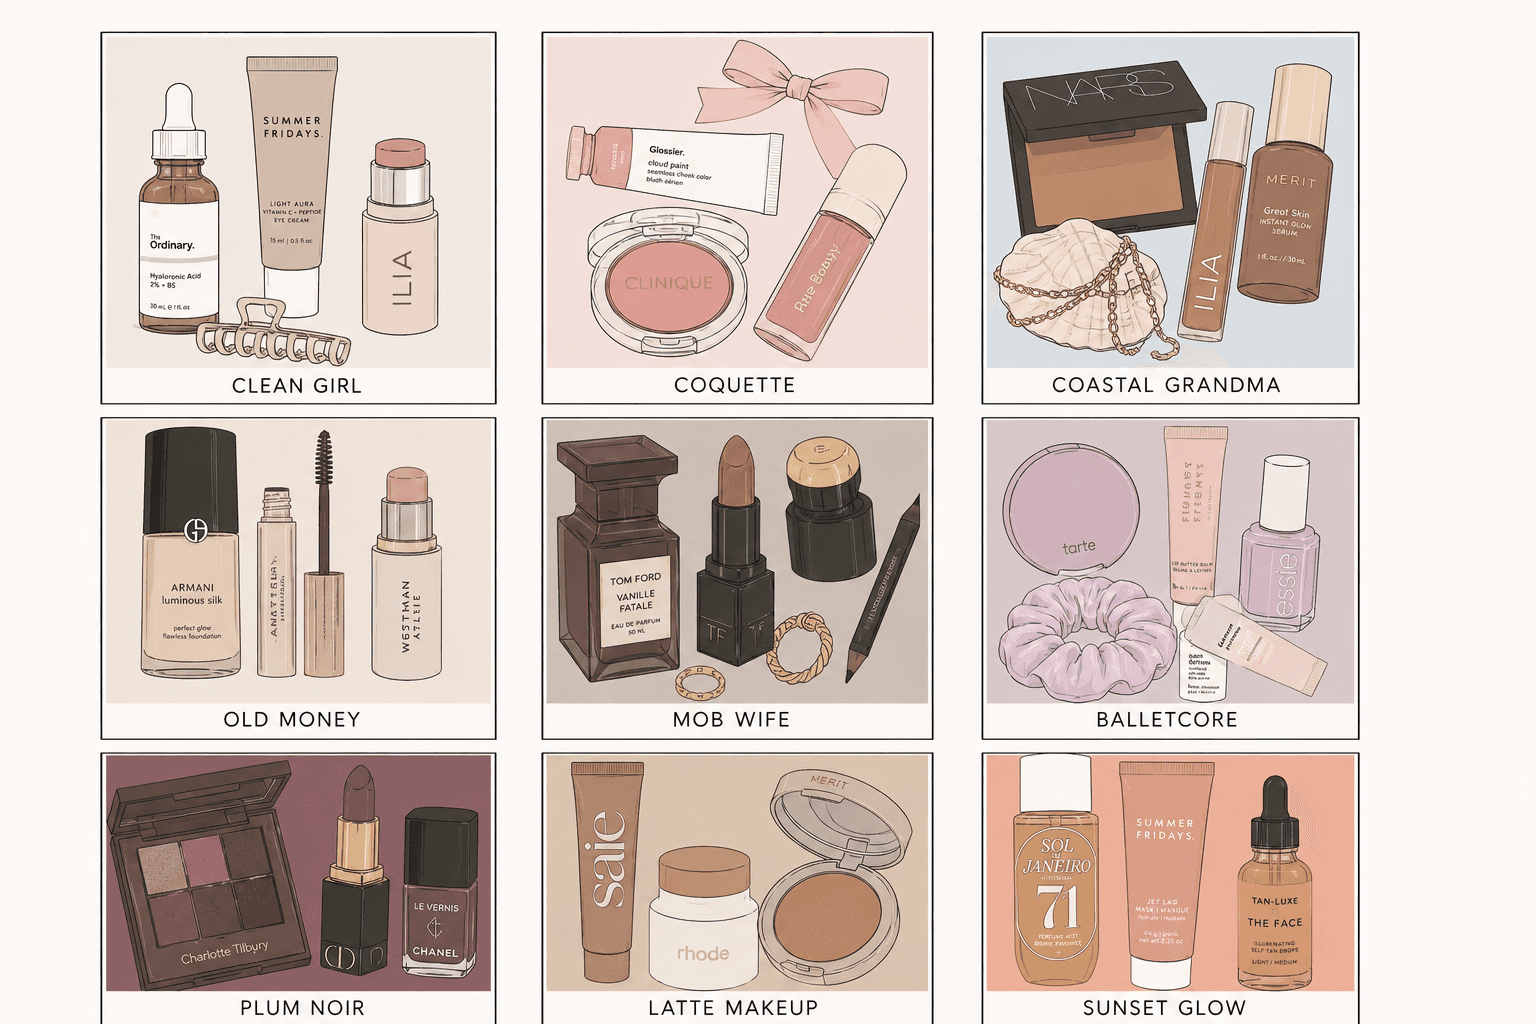
Which Beauty Aesthetic Are You, Really?
clean girl, coquette, mob wife, balletcore. what each one looks like on your face and which products belong in each world.